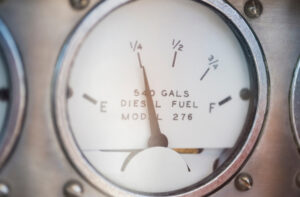

A few years ago I received a somewhat frantic call from a client who was cruising (or not cruising as it turned out) aboard his trawler. Both his engines and generator had shut down simultaneously, he couldn’t get his anchor to set securely, and he was being blown onto a lee shore with darkness approaching. His satellite phone connection was tenuous at best. Each time he carried the phone below to answer a question I posed, the connection would be lost.After roughly a dozen disjointed calls, I was able to ascertain that after experiencing a loss of rpm, he’d replaced all of the fuel filters, on both the engine and the genset. With that information, I concluded that he’d allowed air to enter the high-pressure fuel system of both engines and the generator. The solution seemed simple: bleed both engines—the propulsion engines first of course— and be on your way. The problem was, neither he nor his crew had ever bled an engine before and they had no idea how to do it.
After another dozen fragmented satellite calls, I managed to walk him through bleeding one main engine. The moral of the story is self-evident, where key vessel systems are concerned, self-sufficiency is critically important. In this case, learn to bleed your engine’s fuel system or suffer the consequences. At the very least, even for the avowed non-do-it-yourselfer, you should know how to change a fuel filter and bleed the fuel system, if necessary, as well as know how to replace raw water pump impellers and fan belts.
HOW TO BLEED A FUEL SYSTEM
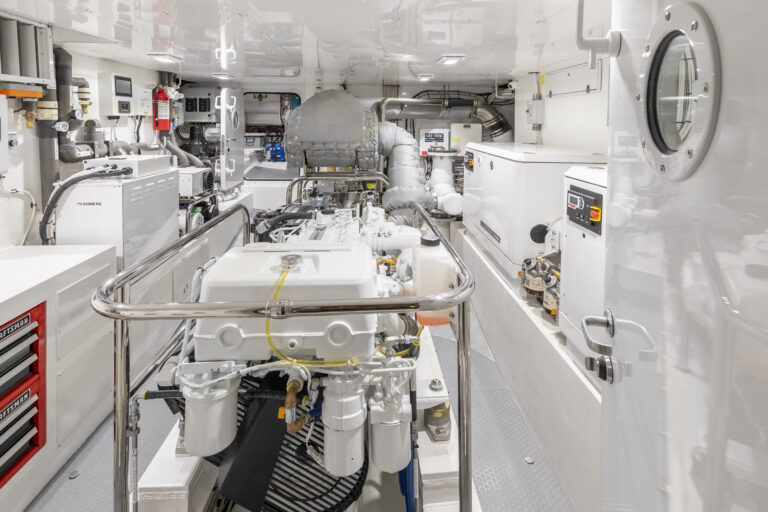
While the actual procedure for bleeding a fuel system varies from engine manufacturer to engine manufacturer, there is a large degree of commonality. Certain engines can be maddeningly difficult to bleed, while others claim to be “self-bleeding,” to an extent (most electronically controlled high-pressure common rail diesels are self-bleeding, however, if they ingest enough air the process can require significant cranking). In general, however, the process goes something like this. If your engine utilizes a mechanical lift pump (this is the low-pressure pump that’s attached to the engine), it will often be equipped with a small lever. Working this lever will enable the pump to move fuel without turning the engine over (as the engine is turned over or cranked, and when it runs, a camshaft lobe or gear within the engine operates this pump). Other engines include plunger-type manual pumps, usually located at the secondary fuel filter (many Caterpillar engines use these and they are sublime). Opening pipe unions and bleed ports downstream of the pump one at a time, beginning with those closest to the pump first and working the manual pump’s lever, will purge air from the low pressure side of the fuel system.
The procedure for engines equipped with electric loft pumps is similar. Instead of working a lever, however, turn the ignition key to the “On” position. (On some engines, the pump only runs when the glow plugs are operated or when the engine is actually running. In this case, the pump may have to be temporarily “hot wired” or permanently wired with a spring loaded momentary “On” switch in order to aid bleeding, or you may simply have to crank the engine.) The secondary or on-engine fuel filter is located between the lift pump and the high-pressure injection pump. It is here that air often becomes trapped. Most secondary fuel filters, regardless of their design, are equipped with a bleed screw. Opening this screw and working the lift pump lever until a clear, air-free stream of fuel flows,means you’ve successfully bled the system up to that point.
The next major component after the secondary filter is the injection pump. Most are equipped with bleed screws, and thus, the procedure is the same as the one used on the fuel filter—pump until you observe air-free fuel. At this point, you now must move into bleeding the high-pressure fuel system. If you’ve been successful in getting fuel to the injection pump, then the next step involves bleeding the injectors.
Use caution at this stage, opening any of the high-pressure fuel lines, even just loosening them, can expose you to high-pressure fuel, which can penetrate your skin. When cranking the engine with any high-pressure lines loosened, make sure your hands and arms are well away from these areas. I often lay a rag over the opened union as well. This is accomplished by loosening the union nut between the top of the injector and the steel fuel pipe, just a single turn or two. It’s not necessary to remove the fitting from the injector entirely. With these unions loosened, crank the engine using the starter for 5 or 10 seconds, but no more.
If fuel fails to make an appearance at the unions, wait 60 seconds (to allow the starter to cool) and crank again for 5 to 10 seconds. The process could require several repetitions, however, when fuel begins to appear, it will only be a dribble—that’s normal. Tighten the unions with a wrench and crank the engine with the throttle advanced 25 percent. It should catch at this point, albeit roughly at first. Advance or retard the throttle as necessary to keep the engine turning until it begins to run smoothly.
If you’ve never learned how to bleed air from your engines, propulsion, and generator, it may be worth the time and expense to hire a professional mechanic to walk you through the process—it rarely takes more than an hour. When doing so, make certain that you use only the tools you have aboard and you must do the actual work yourself rather than watching someone else. If you turn the wrenches, you’ll gain a better understanding of the process and it will cement the procedure more firmly in your brain. Take notes and photos for future reference.
A note of caution is in order for the final portion of this procedure. If you must crank the engine for more than about 20 seconds in order to bleed the high-pressure fuel system, it may be necessary to close the intake seacock. Each time the engine is cranked, it pumps water into the exhaust system, and until the engine starts, the water will accumulate there, where it could eventually reach the exhaust manifold, exhaust valves, and ultimately the cylinders.
Most trawler engine installations are designed to prevent this backflow. The “spill over” point in the exhaust is higher than the overboard discharge. However, some are not and many generator installations also do not incorporate this failsafe design feature. In most cases, it’s simply a function of the vessel’s design, and if done correctly, remains compliant with engine manufacturer guidelines. Still, it’s good to know which system you have. If water makes its way into the engine, it will almost certainly cause extensive damage. Remember, however, if you do close the seacock during the bleeding procedure, open it once the engine begins to run.